
Tips for Excel, Word, PowerPoint and Other Applications
Arranging Documents for Better Workflow
We've all had to review multiple documents at the same time. Maybe you're checking last month's spreadsheet against this month's, or you're comparing two versions of a contract. Maybe you've experienced the frustration of flipping back and forth between files. Whatever you're doing, it helps when you can place both documents side by side, where you can see both, for easy comparison.
As an interesting aside, you may wonder where I come up with these topics. In this case, I fat fingered an ALT shortcut and accidentally ended up with 2 files side by side. I found this to be interesting ... interesting enough that I wanted to figure out how to recreate it, which led me to some experimentation with the Window menu. So there you have it.
How To
One of the nice things about Microsoft Office is that is uses common conventions across its applications and most other developers have adopted the same conventions. This makes it easier on you and I in that we only have to remember in which we can find the commands to arrange our work panes. I'll use Word as the base example and then show you how Excel, Powerpoint, and Adobe Acrobat are similar but just a little different.
Microsoft Word
In all four cases, we're going to go Main Menu: Window. In the Window menu, you'll see a number of options such as Split, Arrange, and Compare. If you want to try this out while you go though the tutorial, simply open up any Word document. Let's start with Split.
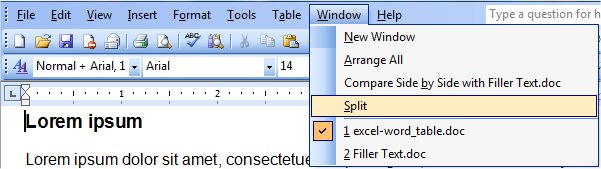
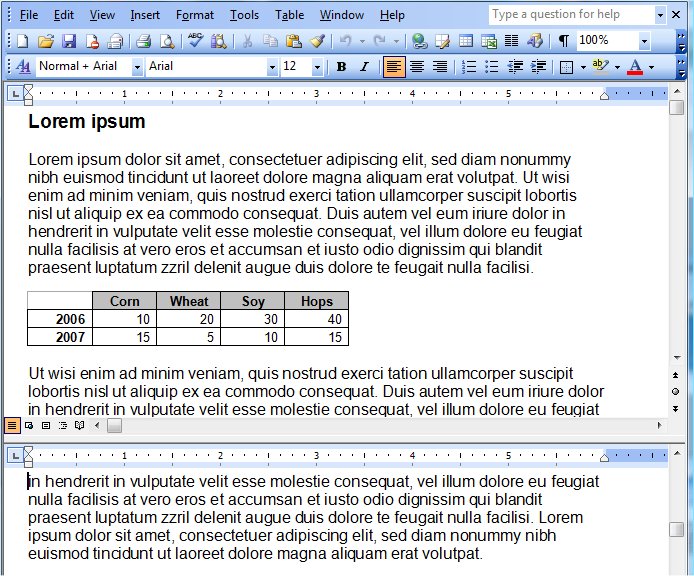
If you select Split, your cursor will turn into an into a double line with up and down arrows. When you have this icon, click anywhere in your Word document and your document will split into two parts, separated by a thick horizontal bar. Each section will have its own scroll bar and ruler. This means that you can keep one section static, while you look through the rest of the document, maybe for a supporting fact, a cite, or a footnote.
Want to move the divider line? Just place your mouse over the bar and you will see it change into the same double line + arrows icon. Simple left-click and drag the bar up or down to resize the two viewing sections.
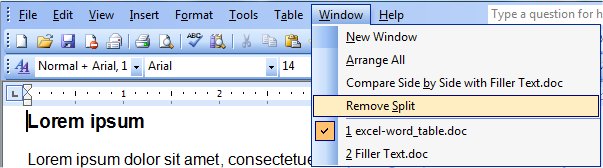
To remove the split, you can go back to Window: Remove Split or more easily, just double click on the dividing line.
Window: Arrange will arrange all of your Word documents horizontally. Naturally, if you have three or more Word documents stacked on top of one another, they'll be hard to read. One of the things you will notice is that your documents expand to take up your entire screen space. If you're wondering why my documents look abnormally wide, it's because I have a wide screen monitor at home.

Window: Arrange works best, for me, when only two Word documents are open. You can have more open to compare, it's just that the viewable area becomes so small, that it's hard to work with.
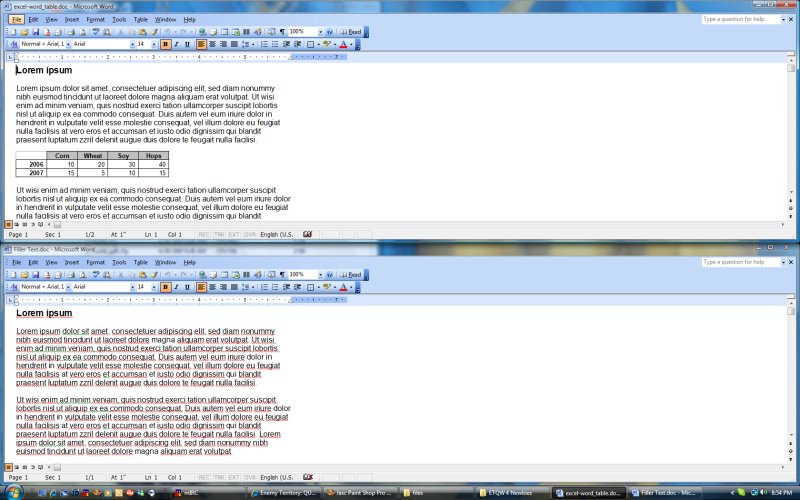
Selecting Compare Side by Side expands both document so that collectively fill up your screen.
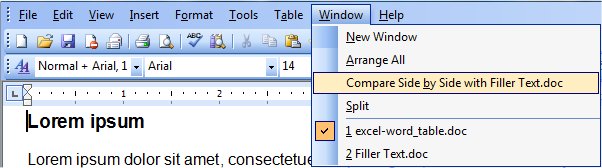
In Compare mode, you can look through each document independantly, but this is very useful when you're doing research or comparing different versions of the same file.

Microsoft Excel
As expected, the document arranging commands in Excel are in the same spot under the Window menu but work in slightly different ways. The first difference is Split.
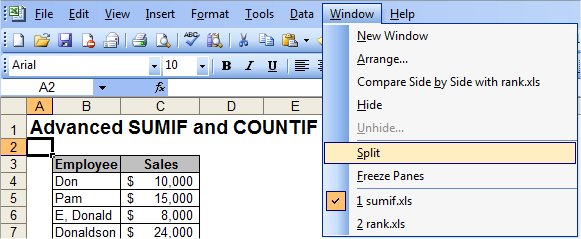
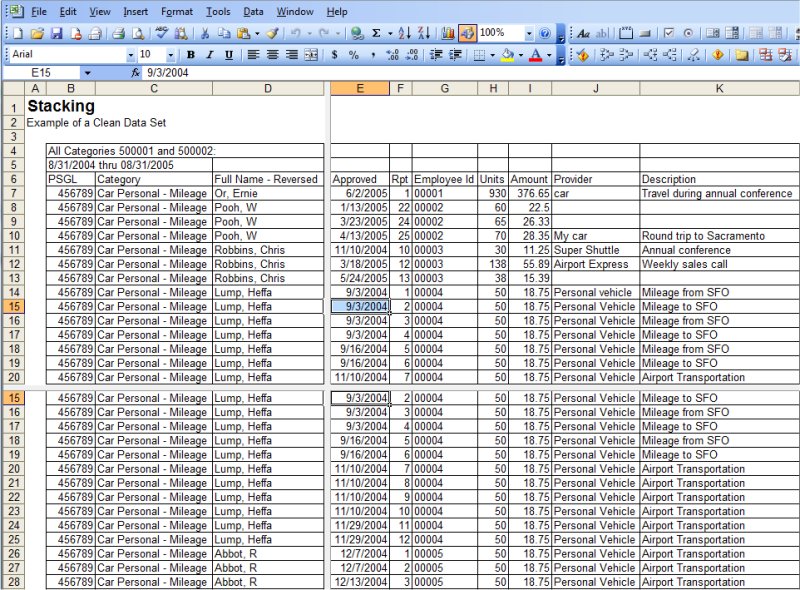
When you select the Split command, your worksheet will split at the upper left hand corner of the active cell. If you are on Row 1, your worksheet will simply split vertically. If you're in Column A, your worksheet will split vertically. In all other cases, your worksheet will split into 4 panes. Just like in Word, if you need to resize your panes, just put your mouse over the dividing line, wait for the cursor to change, left-click and drag the divider to a new spot. To remove a dividing line, simply double click on it.
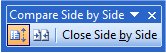
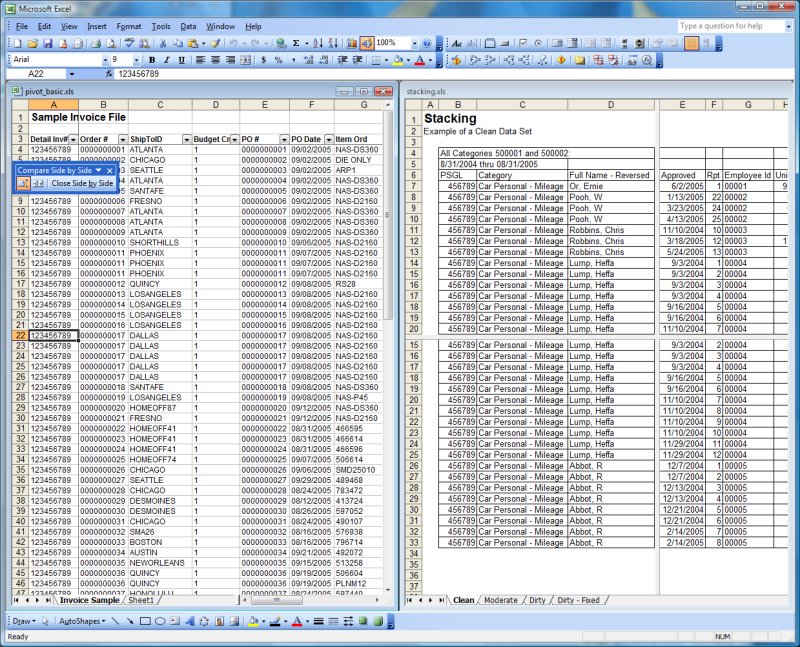
The Compare Side by Side command work in a similar manner, but the two compared documents will only expand to fill the existing Excel window. An intersting function of Compare Side by Side is that as you scroll back and forth in one workbook, your scrolling will be mirrored in the other workbook. This is called synchronous scrolling. So, if you're looking at two monthly reports, which are laid out the same, then as you look around in one workbook, you should also be looking at the same rows and columns in the other. Pretty nifty. You should also see a small toolbar like the one below, which allows you to Stop Synchronous Scrolling, Reset Window Position (e.g., tile vertically), or Close Side by Side.
The Arrange command gives you some options regarding how your documents are organized. When you click Arrange, you will see a small box pop up, which asks you how you'd like your windows arranged.
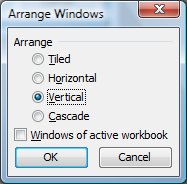
Select Vertical and your workbooks will be presented side-by-side. If you have 3 workbooks open, all three will be tiled vertically. Remember, if you want the synchronous scrolling, you have to use Compare Side by Side. Arrange may look the same, but you won't be able to scroll in both simultaneously.
Microsoft PowerPoint
I didn't include any pictures here, but the commands are found under the same Window menu. However, in PowerPoint you cannot split a screen and you only have the option of comparing two documents side by side.
Adobe Reader 8 and Adobe Acrobat 7.1
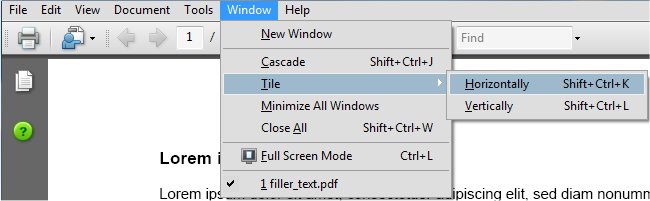
In Adobe Reader 8 and Acrobat 7.1, the commands are also found under the Window menu, but are grouped under Tile. Click on Tile and you will get the option to tiles your PDF documents side by side (horizontally) or one on top of another (vertically). Also, it doesn't matter if the documents are open in Reader and/or Acrobat. The tiling will affect any PDF files open.
Hope this helps.
Notes
| Last updated | 4/10/08 |
| Application Version | Excel 2003, Word 2003, PowerPoint 2003, Adobe Reader 8 |
| Author | Michael Kan |
| Pre-requisites | None |
| Related Tips | None |